> For the complete documentation index, see [llms.txt](https://a3sprotocolcontact.gitbook.io/a3s-protocol/llms.txt). Markdown versions of documentation pages are available by appending `.md` to page URLs; this page is available as [Markdown](https://a3sprotocolcontact.gitbook.io/a3s-protocol/tutorial/create-a3s-address.md).
# Create A3S address
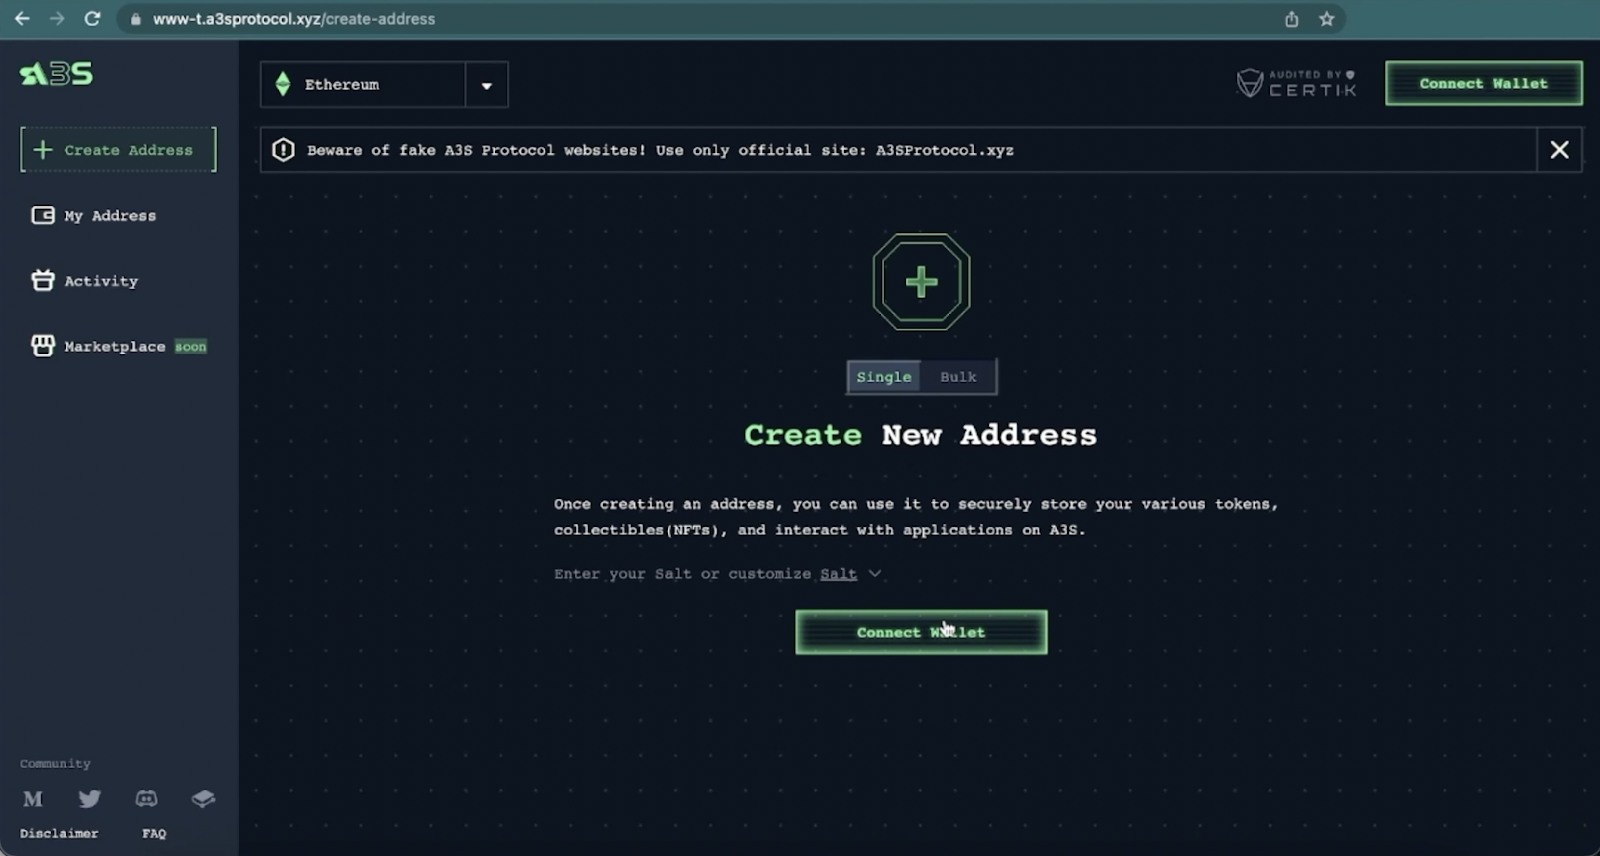
**1.Click to connect wallet after launching app.**
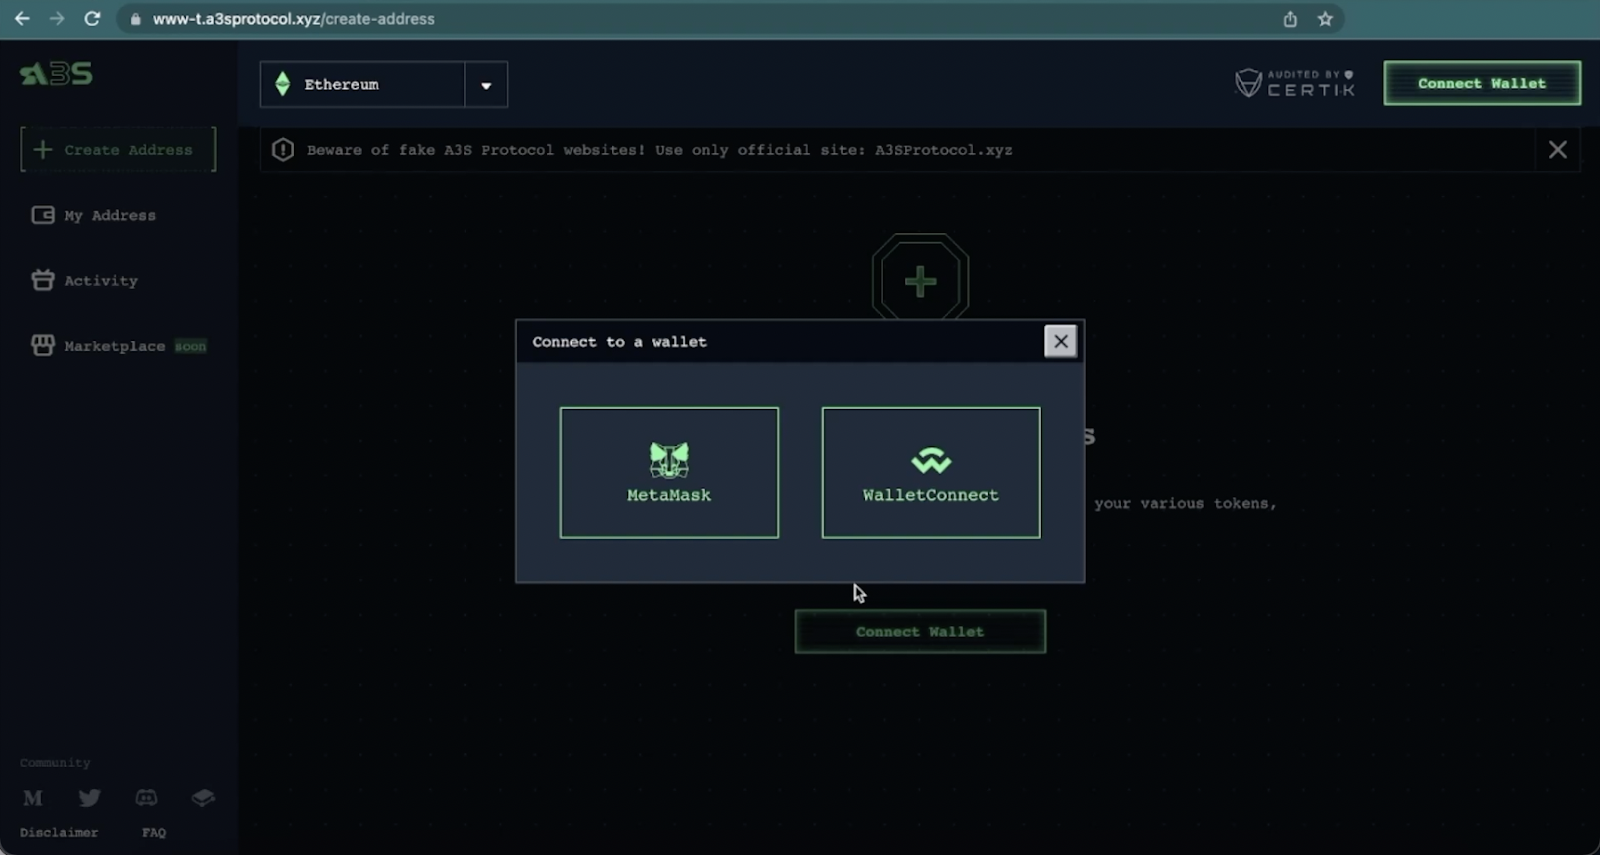
**2.Select which wallet you would like to use to create an A3S address.**
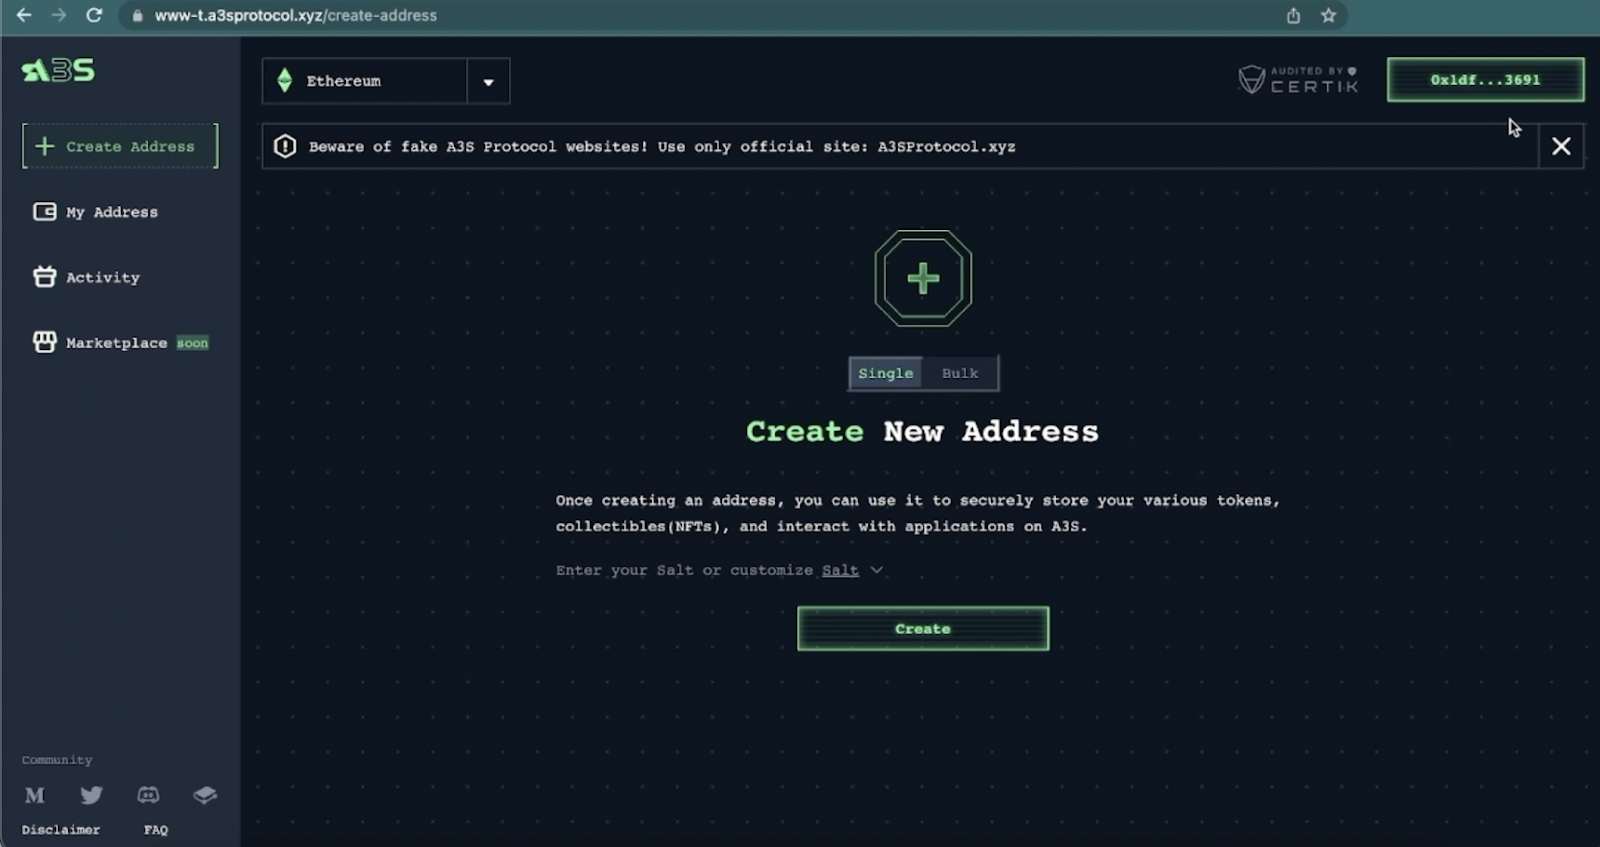
**3. After logging in, your address should appear at the top right-hand corner.**
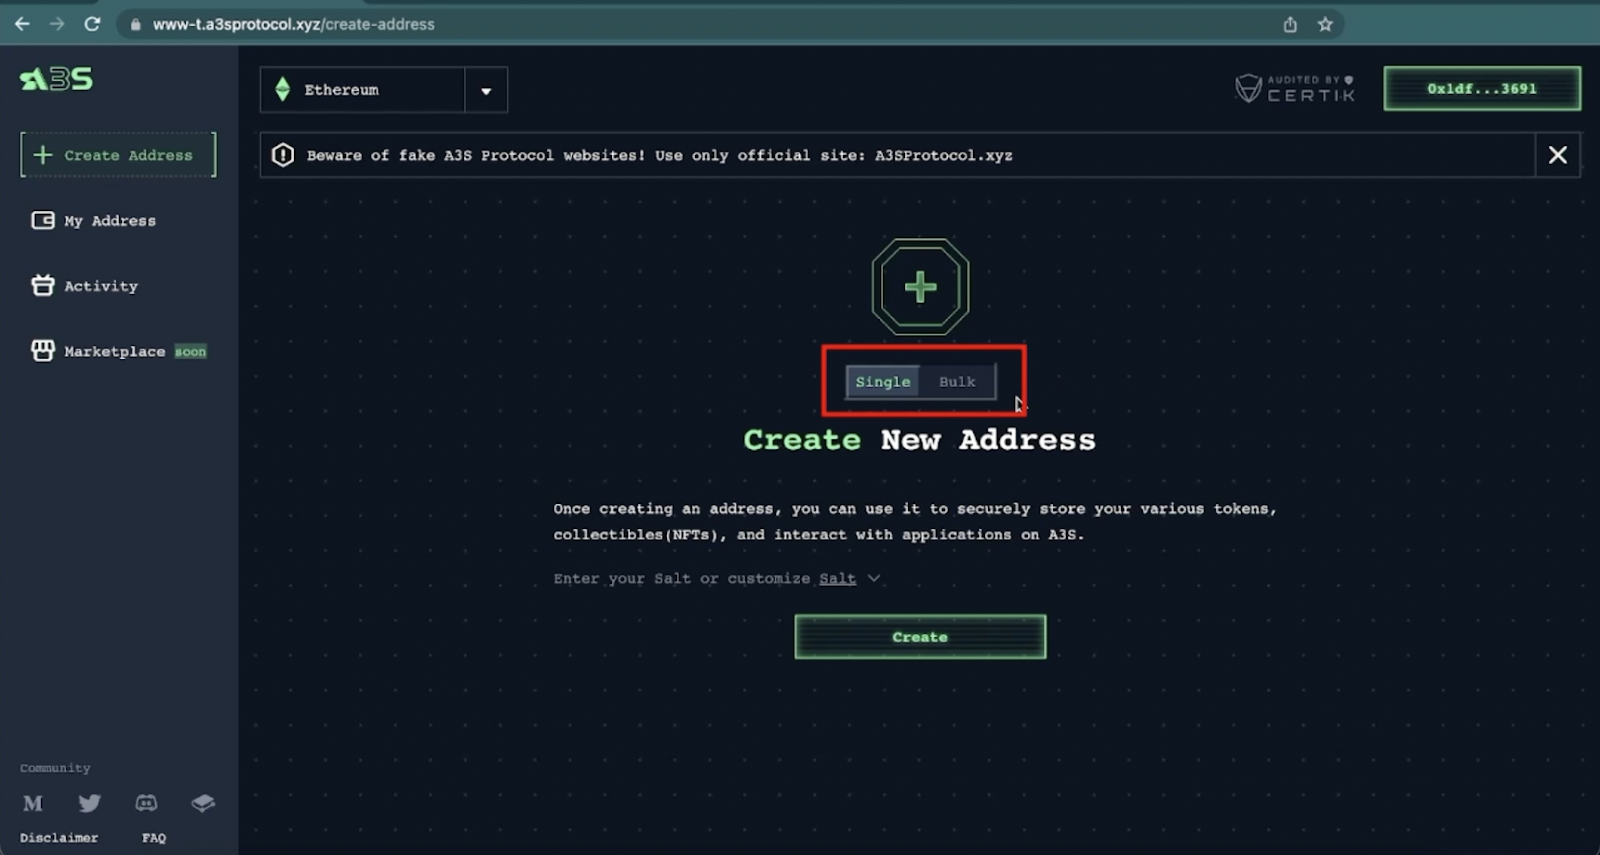
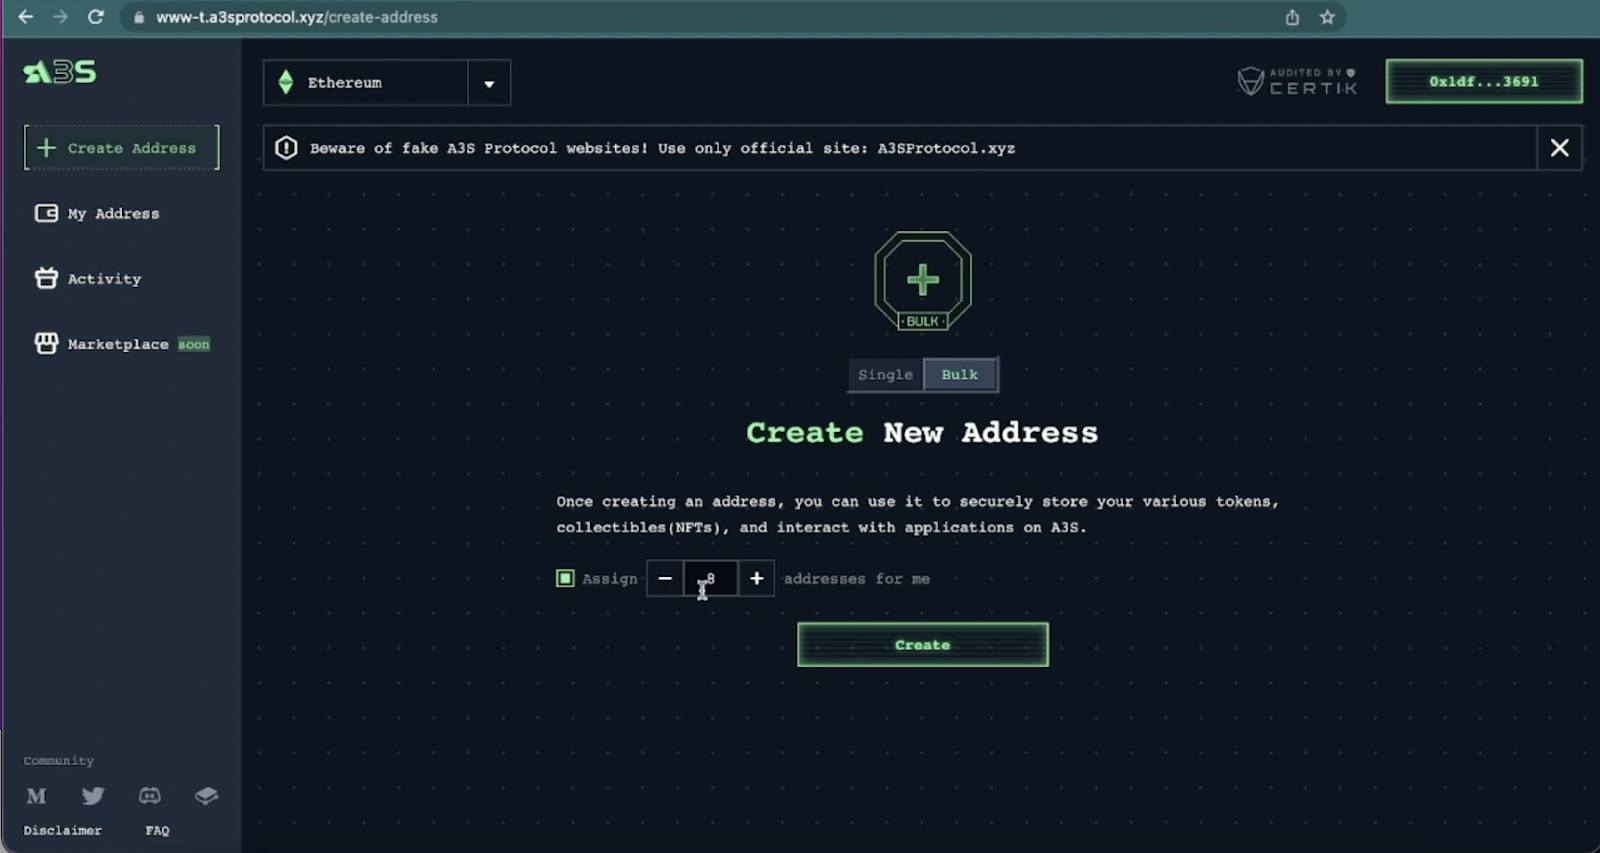
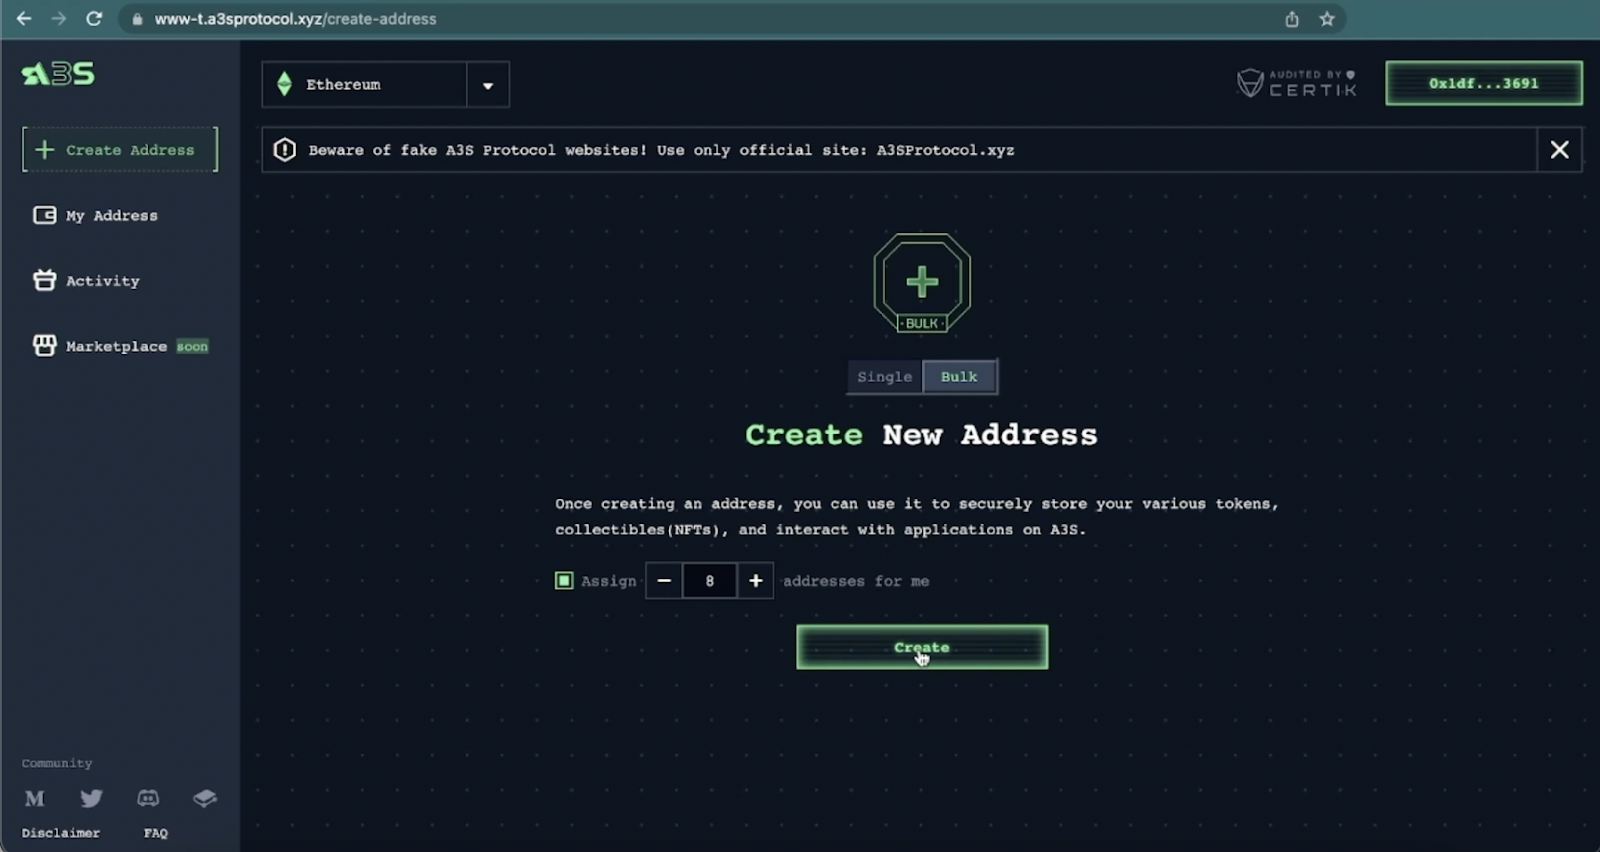
**4.In this section you can choose how many A3s addresses you want to create. Single means you can create an address, Bulk means you can create up to 10 addresses together as a batch.**
**For this demo let’s choose 8 addresses.**
**Click on the Create button.**
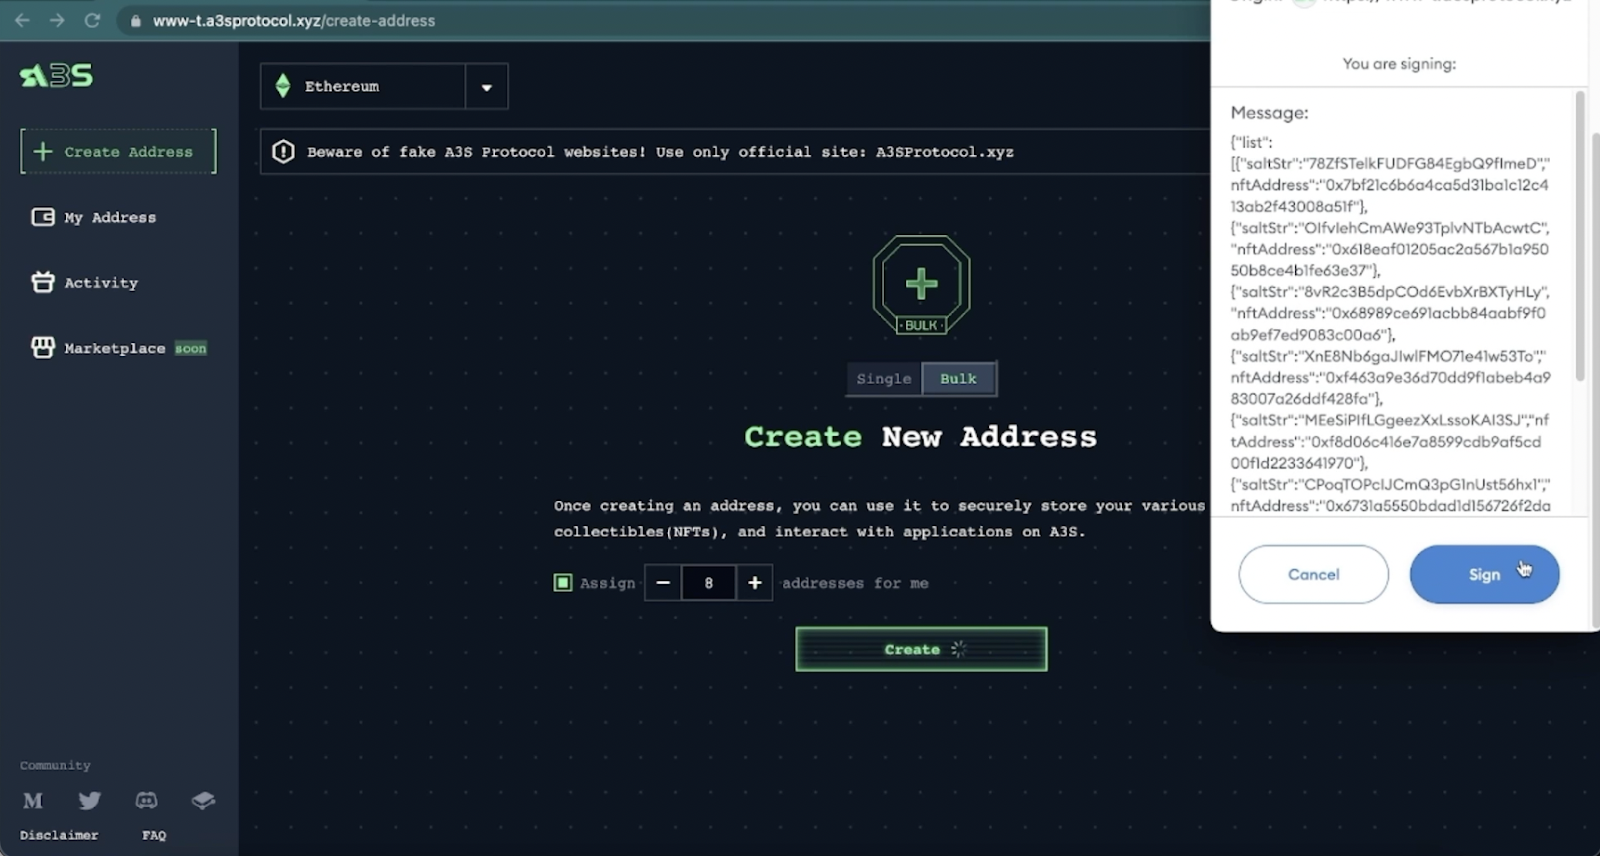
**There will be a pop-up screen requesting you to sign and create these addresses. The best part, it's free!**
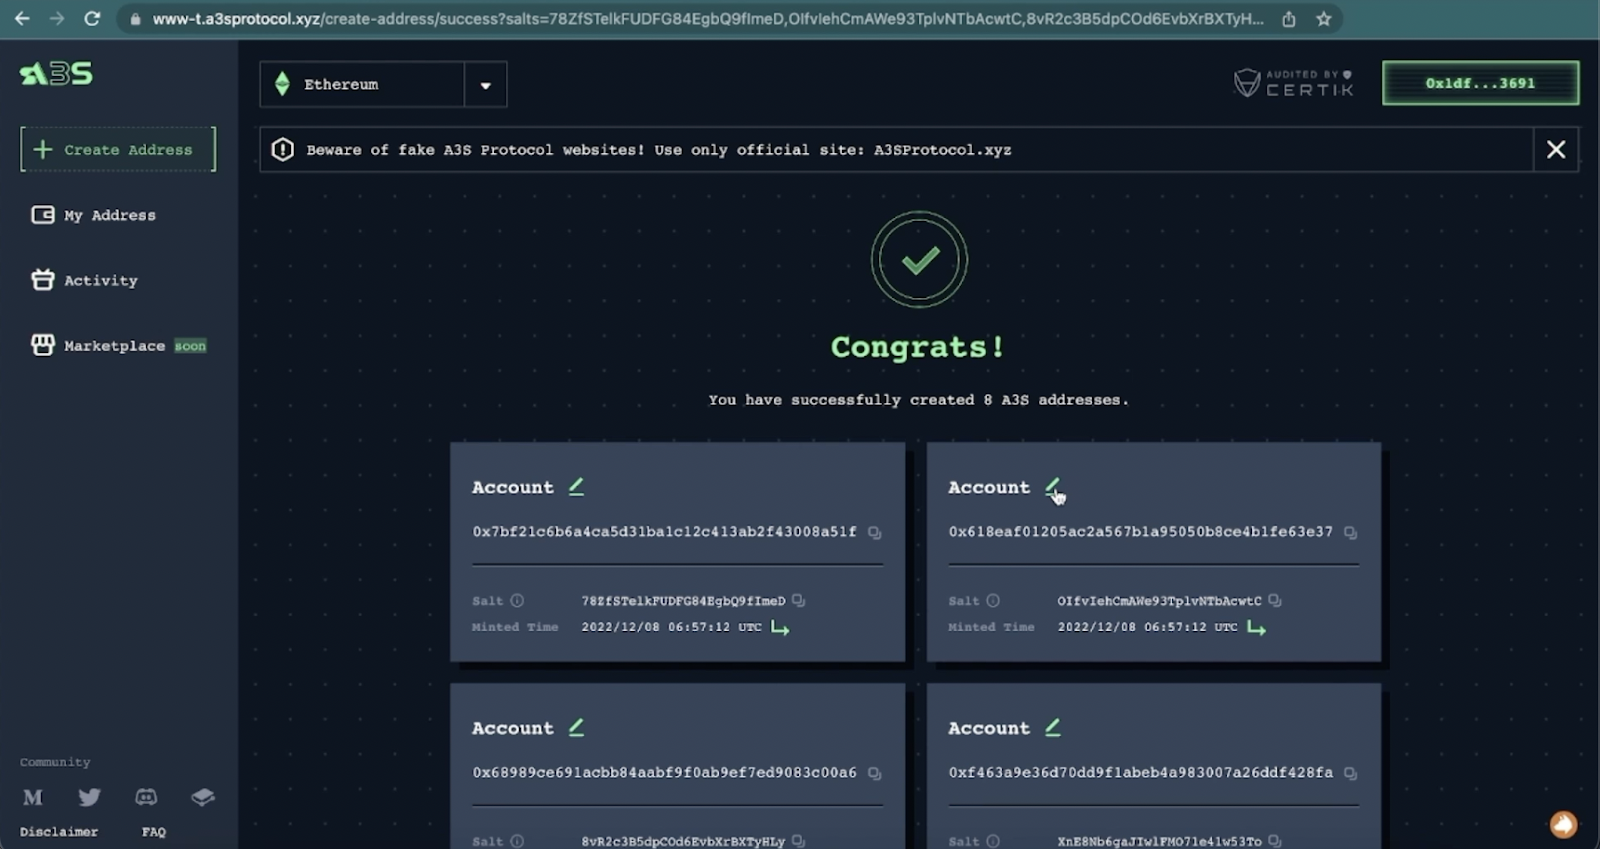
**Then it leads you to the Congratulations page! Now you are officially an owner of A3S addresses.**
**You could change the name of your A3S address here.**
**If you like the string of this address, you could copy the salt and mint it on both Ethereum and Polygon.**